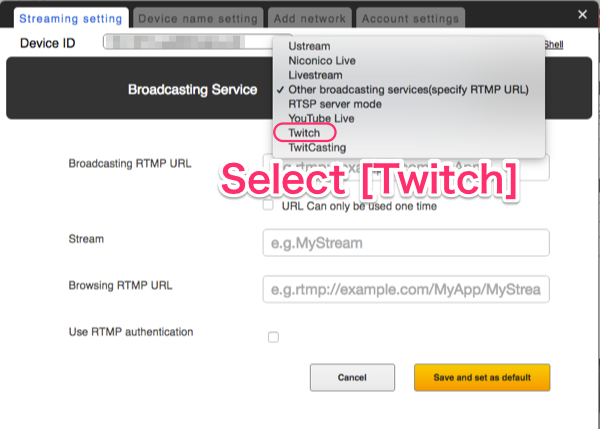
Add/change network connection
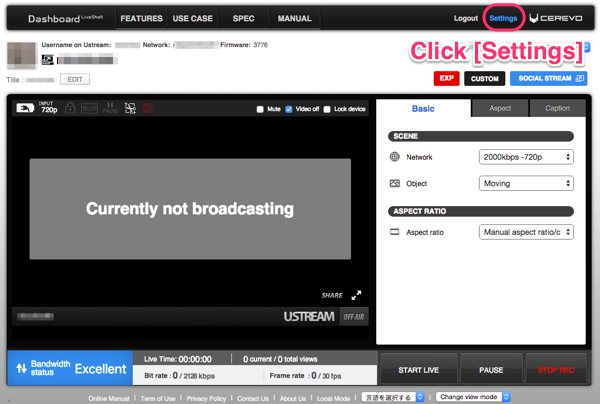
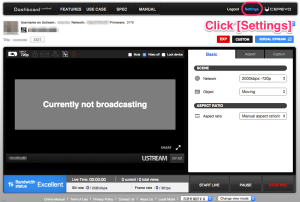
Settings
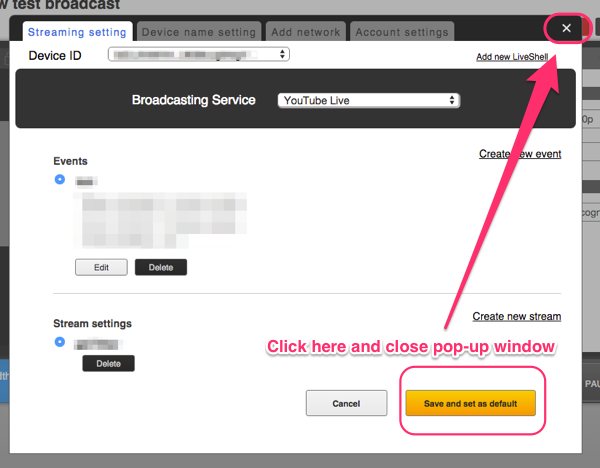
- Click the “Settings” link on the top right of Dashboard.
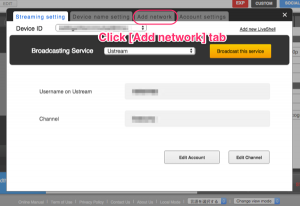
- Select the “Add network” tab.
- If you are adding a Wi-Fi network, click [Wireless(Wi-Fi)] from the left menu, enter the new ESSID and passphrase and click the [OK] button.

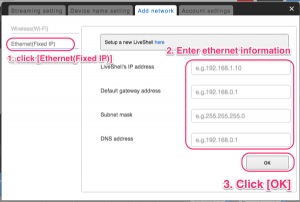
- If you are adding a static IP Ethernet network, click [Ethernet(Fixed IP)] from the left menu, enter the new Ethernet network information and click the [OK] button.
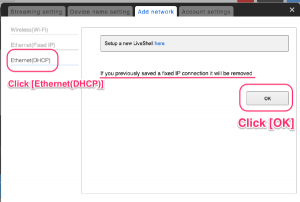
- If you are adding a new DHCP ethernet network, click [Ethernet(DHCP)] from the left menu and the click [OK] button. If you have previously added a static IP Ethernet connection it will be deleted.
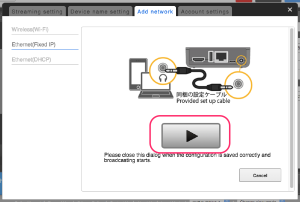
- Connect the cables as shown, and press the play button.
- If [LIVE] is displayed on the device LCD screen, the new connection has been added successfully.

Note : Adding Ethernet network connection (DHCP)
If the new network being added can acquire the IP address through a DHCP server, a new configuration does not need to be added.
* Once the Ethernet cable is connected, the LiveShell 2 can be used.
* If the LiveShell is configured with a static IP address, the configuration should be changed to allow for a DHCP enabled network.
Note : Adding Wi-Fi networks
The most recently saved network is assigned the lowest number on the list (Wi-Fi No.). If the LiveShell 2 discovers multiple wireless APs, it will use the most recently added network.
- The 10 most recent networks can be stored at any given time.
The LiveShell cannot discover a stealth ESSID wireless AP, if one is being used, the access point will need to be reconfigured.


